
In today’s digital age, the demand for home security is at an all-time high. As technology continues to advance, it has become easier than ever to keep a watchful eye on our homes and loved ones.
One of the most popular methods of achieving this is by connecting a wireless camera to our smartphones.
In just a few simple steps, you can have peace of mind knowing that you can monitor your home from anywhere in the world.
This guide will help you explore the step-by-step process of how to connect wireless camera to phone.
So, grab your phone, and let’s dive into the world of seamless surveillance.
Contents
- 1 How do I connect my phone to my wireless camera? 5 Steps To Follow
- 2 How do I connect my wireless camera to WiFi?
- 3 How does a wireless Wi-Fi camera work?
- 4 How do I find the IP address of my Wi-Fi camera?
- 5 How do I access my security camera on my iPhone?
- 6 Conclusion
How do I connect my phone to my wireless camera? 5 Steps To Follow
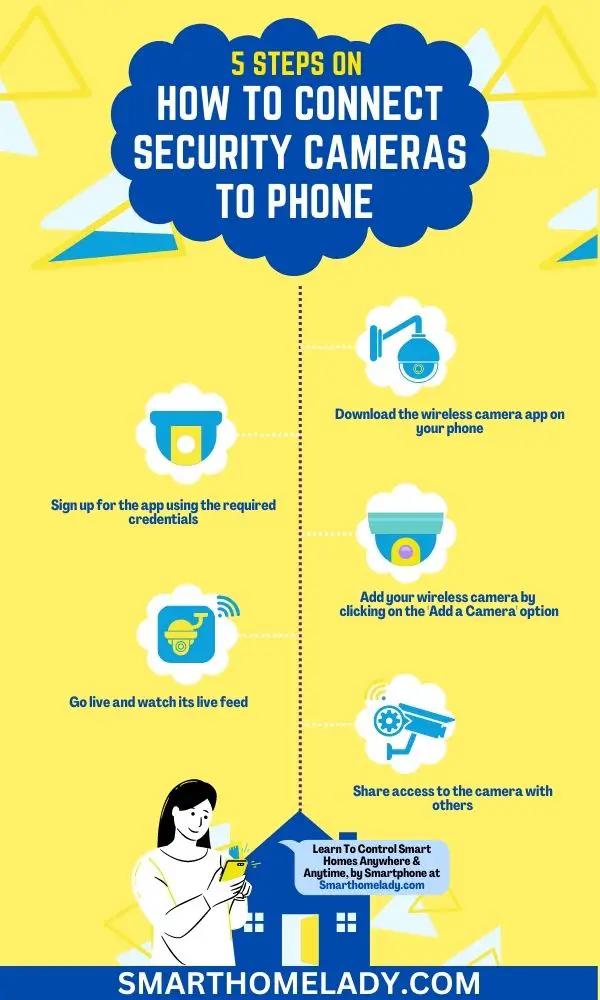
To connect my phone to a wireless camera, here is a summary of 5 steps that I follow.
- I first need to download the wireless camera app on my phone.
- Once I’ve downloaded it, I sign up for the app using the required credentials.
- Then, I can add my wireless camera by clicking on the ‘Add a Camera’ option within the app.
- After I’ve added the camera, I can go live and watch its live feed directly from my phone.
- Lastly, if I want to share access to the camera with others, there’s an option to do so within the app.
1. Download The Wireless Camera App On Phone
First, you’ll need to download the wireless camera app on your phone. This app will allow you to connect and control your wireless camera easily.
Once downloaded, you can troubleshoot any connection issues that may arise by following the instructions provided in the app.
Additionally, you can adjust camera settings for optimal performance, such as adjusting the resolution or frame rate. The app also offers additional features that you can explore, such as motion detection or two-way audio communication.
To maximize battery life on your wireless camera, consider turning off unnecessary features when not in use and charging it regularly.
Lastly, it’s important to secure your wireless camera network from hackers by setting a strong password and regularly updating both the app and camera firmware.
2. Sign Up for The App With the Required Credential
Once you’ve got the wireless camera app downloaded, it’s time to sign up and create your account using the required credentials.
Here are some important steps to consider when signing up for the app:
When signing up for the app, you will need to provide the required credentials in order to create your account. This typically includes;
- Providing your email address
- A unique username
- A secure password
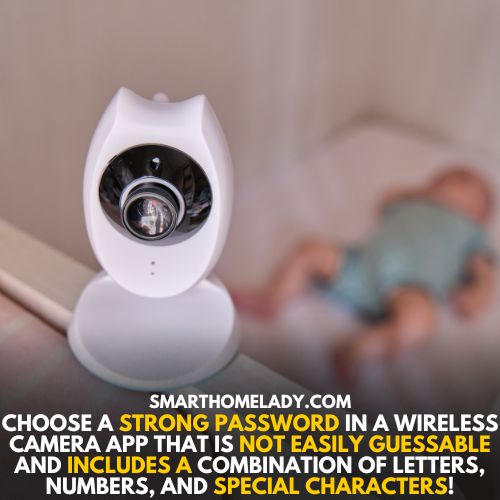
It is important to choose a strong password that is not easily guessable and includes a combination of letters, numbers, and special characters.
Additionally, some apps may require you to verify your email address before you can fully activate your account. This is done by sending a verification link to the email address you provided during the sign-up process.
Make sure to check your inbox and spam folder for this email and click on the verification link to complete the account activation.
It is also worth noting that some apps may ask for additional information during the sign-up process, such as your name, phone number, or date of birth. This information is usually used for account verification purposes or to personalize your experience within the app.
Once you have successfully signed up and created your account, you can start exploring the features and functionalities of the wireless camera app.
This may include connecting your wireless camera to the app, adjusting settings, and accessing live video feeds or recorded footage.
Remember – Keep your login credentials secure and do not share them with anyone to protect the privacy and security of your account. Regularly updating your password and enabling two-factor authentication, if available, can also add an extra layer of security to your app account.
3. Add Your Wireless Camera By Clicking Add A Camera Option
Easily enhance your monitoring capabilities by simply clicking the ‘Add A Camera’ option. This step allows you to integrate your wireless camera with your phone and gain access to its features and functionalities.
Once you click on the ‘Add A Camera’ option, you will be guided through a simple setup process.
This may involve connecting your camera to your home’s Wi-Fi network, creating a username and password for your camera’s app, scanning a QR code, or entering a unique camera ID to pair the camera with your phone.
Once the setup is complete, you can start enjoying the benefits of your wireless camera.
You can view live video feeds from your camera directly on your phone, receive motion or sound detection alerts, and even remotely control and adjust camera settings.
Must Read Related Articles Of Wireless Cameras
- Do Wireless Security Cameras Need Batteries?
- How Do Wireless Security Cameras Get Power? 3 Ways
- Do Wireless Security Cameras Need Internet?
4. Go Live & Watch Wireless Camera’s Live Feed
To experience the thrill of real-time monitoring, simply tap into the live feed of your camera and watch it in action.
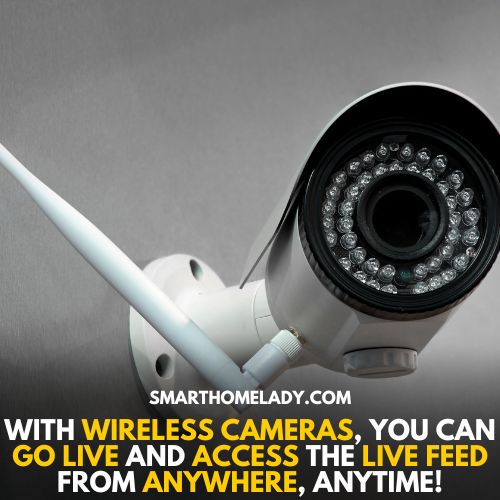
With wireless cameras, you can go live and access the live feed from anywhere, anytime.
Whether you are at work, on vacation, or simply want to keep an eye on your home or office, this feature allows you to stay connected and monitor what’s happening in real time.
By tapping into the live feed, you can observe any activities, ensure the safety of your loved ones, or even catch potential intruders. The convenience and peace of mind provided by wireless cameras make them an essential tool for home security and surveillance.
So, go live and watch the live feed of your wireless camera to stay connected and in control.
Share access to your camera with trusted family members and friends, allowing them to also keep an eye on your home and ensure its security.
One of the key features of wireless cameras is the ability to share access with others. To do this, you can explore camera-sharing options within the camera settings or app.
Most cameras offer various levels of access, allowing you to control what each person can see and do.
Additionally, make sure to review and adjust your camera privacy settings accordingly. This will ensure that only authorized individuals have access to the live feed and recordings.
Frequently Asked Questions FAQs
How do I connect my wireless camera to WiFi?
Connecting a wireless camera to WiFi is relatively simple. Follow the following steps:
– First, ensure that your camera is powered on and within range of your Wi-Fi network. Then, access the camera’s settings or configuration menu.
– Look for the network settings option and select it.
– From there, you will be prompted to choose your desired Wi-Fi network and enter the network password.
– Once you have entered the correct information, the camera will attempt to connect to the Wi-Fi network.
– If successful, you will be able to remotely access and control the camera using your smartphone or computer.
How does a wireless Wi-Fi camera work?
A wireless Wi-Fi camera operates by connecting to your home or office Wi-Fi network. These cameras have built-in Wi-Fi capabilities that enable them to communicate with your router.
Once connected, the camera can transmit audio and video data over the network. This allows you to monitor the camera’s feed remotely using a smartphone, tablet, or computer.
Some wireless cameras also offer additional features such as motion detection, night vision, and two-way audio communication.
They often come with dedicated apps that provide a user-friendly interface for controlling and accessing the camera’s functions.
How do I find the IP address of my Wi-Fi camera?
To find the IP address of your Wi-Fi camera, you can follow these steps:
1. Make sure the camera is connected to your network and powered on.
2. On your smartphone or computer, open the settings or network preferences.
3. Look for the list of connected devices or network devices.
4. Locate the camera’s name or model in the list and note down the corresponding IP address.
Alternatively, you can also check the camera’s user manual or manufacturer’s website for instructions on finding the IP address.
Once you have the IP address, you can enter it in a web browser to access the camera’s configuration settings or use it with a dedicated app for remote viewing and control.
How do I access my security camera on my iPhone?
To access your security camera on your iPhone, you can follow these steps:
1. Ensure that your security camera is connected to your Wi-Fi network and powered on.
2. Install the manufacturer’s dedicated app for your security camera on your iPhone.
3. Open the app and follow the on-screen instructions to set up the camera.
4. Once the setup is complete, you should see a live feed from your security camera on your iPhone’s screen.
5. Depending on the app’s features, you may also be able to access additional functions such as recording, playback, and adjusting camera settings directly from your iPhone.
It’s important to note that the specific steps may vary depending on the brand and model of your security camera.
So, it’s always recommended to consult the user manual or manufacturer’s support resources for detailed instructions.
Conclusion
Connecting a wireless camera to your phone is a straightforward process that can be done in just 5 simple steps.
By following these steps carefully and ensuring proper compatibility between devices, you’ll be able to enjoy all the benefits of a connected wireless camera system right at your fingertips.
Whether it’s for security purposes or simply monitoring pets or loved ones, this convenient setup allows for easy access and control anytime, anywhere.
Sources
- Connect WiFi Camera With Android Phone Without Router (Source Link)
- Connection Of Camera To Android Phone With WiFi (Source Link)
- Sanjay Satam, S., & El-Ocla, H. (2022). Home security system using wireless sensors network. Wireless Personal Communications, 125(2), 1185-1201. (Source Link)
