Is your Blink camera registered to another account? This can be a frustrating issue that many Blink camera users encounter.
There are several reasons why this may happen, such as;
- Forgetting to remove the camera before selling it.
- Transferring ownership.
- Accidentally registering the device to the wrong account during setup.
- It can also occur if the previous owner had an active Blink subscription plan that they forgot to cancel.
This can cause the error message “camera is already registered to another account” to appear when you try to set up the camera.
In this article, I will provide you with options for dealing with a registered camera. Additionally, I will discuss how to unregister a Blink camera from your account.
Let’s get started.
Contents
- 1 Why is my Blink camera saying already registered to another account? 7 Reasons
- 2 6 Steps To Reclaim Blink Camera Registered To Another Account
- 3 Preventive Measures To Avoid Future Issues
- 4 How to Delete or Unregister a Blink Camera – Step-By-Step Guide
- 5 Frequently Asked Questions FAQs
- 6 How to delete Blink Sync module without a serial number?
- 7 How to reset a Blink Mini camera?
- 8 How to unregister a Blink Sync module?
- 9 How to unregister a Blink camera without an account?
- 10 Conclusion
Why is my Blink camera saying already registered to another account? 7 Reasons
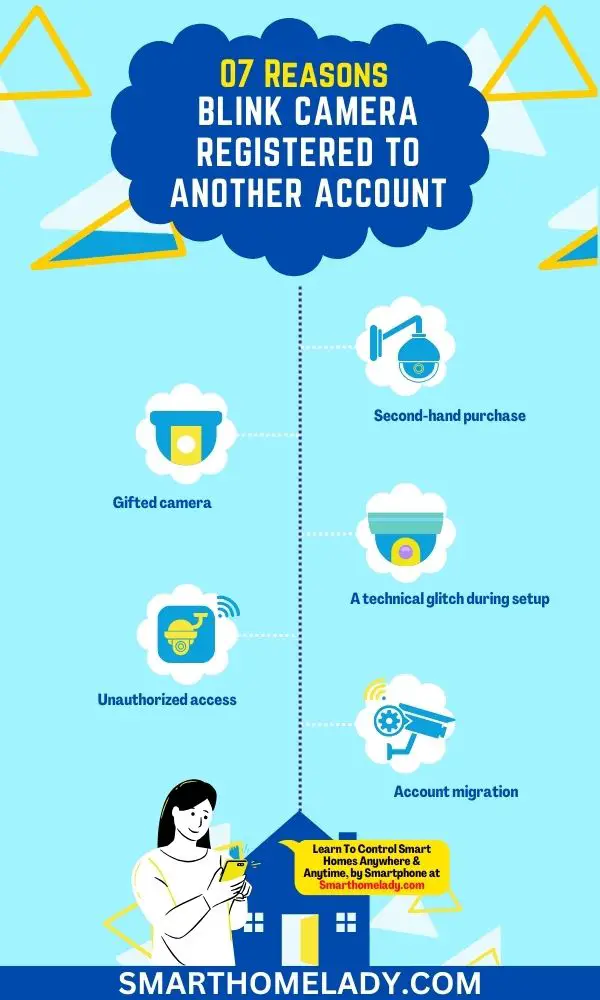
Here are the top 7 reasons why your Blink camera is giving an error that the Blink camera registered to another account.
- Second-hand purchase – The Blink camera may be registered to another account if it was previously owned by someone else who did not properly deregister it before selling or disposing of it.
- Gifted camera – If the camera was received as a gift, the person who bought it may have registered it to their own account before handing it over to the recipient.
- Shared device – In some cases, multiple individuals within a household or organization may share a Blink camera, and it could be mistakenly registered to one person’s account instead of the intended user’s.
- A technical glitch during setup – During the initial setup process, technical issues or connectivity problems may cause the camera to be registered to a different account unintentionally.
- Unauthorized access – If someone gained unauthorized access to the camera, they could have registered it to their own account without the owner’s knowledge.
- Account migration – When switching to a new smartphone or device, users might accidentally register the Blink camera to a different account while transferring their settings and data.
- System error – Rare system errors or glitches within the Blink camera’s software could result in the device being registered to an unintended account.
6 Steps To Reclaim Blink Camera Registered To Another Account
To use a Blink camera registered to another account, you will need to remove it from the current account and then follow these steps to add it to your own account.
1. Reregister Your Blink Camera
If you discover that your Blink camera is registered to another account, the first step is to reregister it to your own account.
- To do this, you need to have the Blink app installed on your smartphone or tablet.
- Open the app and log in to your account, or create a new account if you don’t have one already. Then, follow the on-screen instructions to add a new device.
- Make sure to select the option that allows you to claim ownership of an existing Blink camera. This will guide you through the process of reconnecting the camera to your account.
2. Contact The Previous Owner Of Blink Camera
If you are unable to reregister your Blink camera on your own, it may be helpful to contact the previous owner of the camera. They may have forgotten to remove it from their Blink account or may be able to assist you in removing it from their account.
Reach out to them and kindly explain the situation. Ask if they can either remove the camera from their account or transfer ownership to you.
They may need to log into their Blink account and navigate to the camera settings to remove it or initiate the transfer.
3. Reset The Blink Camera – Step-By-Step Way
If you are still unable to reclaim your Blink camera, you can try performing a reset.
Note – When resetting your Blink camera, make sure you have all the necessary information handy, such as the serial number and any error messages. This will help ensure a smooth process and avoid any potential issues.
How do I reset my Blink camera from previous owner?
To reset your Blink camera, you can perform a hard reset or restore it to factory settings. Here are some steps to guide you through the process:
Hard Reset
A hard reset is useful when your camera is unresponsive or not functioning properly. To do a hard reset, follow these steps:
- Remove the batteries from the back of the camera.
- Unplug the sync module from its power source.
- Wait for about 10 seconds before reinserting the batteries and plugging in the sync module again.
Restore to Factory Settings
If you want to completely erase all settings and start fresh with your Blink camera, restoring it to factory settings is recommended. Here’s how:
- Open the Blink app on your smartphone or tablet.
- Go to Camera Settings and select ‘Advanced Options.’
- Scroll down and tap on ‘Factory Reset’ or ‘Reset Camera.’
You can also perform factory resetting manually by following these few steps.
- Locate the small reset button on the camera.
- Use a pin or a paperclip to press and hold the reset button for about 15 seconds.
- The camera’s LED light should flash blue, indicating that the reset process has begun.
- Once the LED light turns solid blue, the camera is reset and ready for setup.
- You can then proceed to register it to your own Blink account.
Read More About Blink Cameras
4. Remove The Configuration Of Account
In some cases, the Blink camera may still be connected to the previous owner’s account, even after a factory reset.
- To ensure that all previous configuration is removed, you can try disconnecting the camera from the power source and removing the batteries if applicable.
- Leave it disconnected for a few minutes to ensure a complete power cycle.
- Then, reconnect the camera to power and insert the batteries if necessary. This should help clear any remaining traces of the previous account configuration.
5. Transfering Ownership Of Blink Camera Via Email
If you have been in contact with the previous owner and they are willing to transfer ownership, you can complete the transfer via email.
Ask them to initiate the transfer process by logging into their Blink account and navigating to the camera settings. They should be able to find an option to transfer ownership.
Provide them with the email address associated with your Blink account, and they can send the transfer request to that email.
Once you receive the email, follow the instructions provided to accept the transfer and regain control of the Blink camera.
6. Contacting Blink Customer Support
To resolve this issue with your Blink camera, you should reach out to their support team for assistance. Contacting Blink Support is the best way to get the help you need to get your camera registered to the correct account.
Here are ways that show how you can reach out to their customer service:
| Method of contact | Availability | Response Time |
|---|---|---|
| Phone | Monday-Friday | Within 24 hours |
| 24/7 | Within 48 hours | |
| Live Chat | Monday-Friday | Instant |
By utilizing one of these methods, you can connect with Blink’s support team and explain the situation regarding your camera being registered to another account. They will guide you through the necessary steps to resolve this issue promptly and efficiently.
When reaching out for customer service assistance, it’s important to provide them with all relevant information, such as the serial number of your Blink camera and any error messages or notifications you may have received. This will help them better understand the problem and provide a suitable solution.
Preventive Measures To Avoid Future Issues
To prevent future issues with a Blink camera registered to another account, it is crucial to take proactive steps.
These measures can help ensure the security and ownership of the device.
1. Regularly check the Blink camera’s registration status and account settings to verify ownership and prevent any unauthorized access.
2. Enable two-factor authentication on the account to add an extra layer of security and prevent unauthorized changes or access to the camera settings.
3. Keep the camera’s firmware and Blink app up to date to ensure the latest security patches and bug fixes are implemented.
4. Use strong, unique passwords for the Blink account and avoid sharing them with others. Regularly update passwords to minimize the risk of unauthorized access.
5. Avoid using public Wi-Fi networks when accessing the Blink camera or account to prevent potential eavesdropping or hacking attempts.
6. Be cautious when granting access to other individuals or third-party apps. Only share camera access with trusted individuals and review app permissions carefully.
7. Check your Blink camera account settings to review and manage the devices connected to your account.
8. Consider regularly backing up important footage from your Blink camera to an external storage device or a cloud storage service.
9. Stay up to date with the latest news and security alerts related to Blink cameras. Regularly monitor the camera’s activity logs and notifications for any unusual or suspicious activities, such as unrecognized logins or device access.
10. If any suspicions arise, promptly contact Blink customer support to investigate and resolve any issues related to the camera’s registration or account ownership.
How to Delete or Unregister a Blink Camera – Step-By-Step Guide
To begin, let’s go over the steps to delete a Blink camera from your account:
1. Open the Blink app – Launch the Blink app on your smartphone or tablet. Make sure you are logged in with your Blink account credentials.
2. Select the camera – Once you’re in the app, navigate to the Cameras tab, where you’ll find a list of all the cameras associated with your account. Choose the camera you want to delete.
3. Access camera settings – Tap on the camera you wish to remove, and you should be directed to its settings page. Look for the gear icon or a similar symbol that represents settings.
4. Delete the camera – Within the camera settings, scroll down until you find the option to delete or unregister the camera. The wording may vary slightly depending on the Blink app version you’re using. Confirm the action when prompted to complete the process.
Congratulations! You have successfully deleted the Blink camera from your account. The camera will no longer be linked to your app or account, and you won’t receive any notifications or footage from that device.
Frequently Asked Questions FAQs
How to delete Blink Sync module without a serial number?
If you want to delete a Blink Sync module without knowing the serial number, you can still achieve it through the Blink app.
Follow these steps:
– Open the Blink app on your smartphone and log in to your account.
– Tap on the “Sync Module” tab at the bottom of the screen.
– Look for the Sync module you wish to delete and tap on it.
– Scroll down and select the “Delete Sync Module” option.
– Confirm the deletion by following the on-screen prompts.
– The selected Blink Sync module will be successfully deleted from your account.
How to reset a Blink Mini camera?
To reset a Blink Mini camera, you can follow these simple steps:
– Locate the reset button on the camera. It is usually a small hole or button on the back or bottom.
– Use a paperclip or a similar object to press and hold the reset button for about 10-15 seconds.
– Release the reset button after the specified time.
– The Blink Mini camera will restart and return to its default factory settings.
– After the reset, you can set up the camera again using the Blink app on your smartphone.
How to unregister a Blink Sync module?
If you wish to unregister a Blink Sync module from your account, follow these steps:
– Launch the Blink app and log in to your account.
– Go to the “Sync Module” tab at the bottom of the app.
– Select the Sync module you want to unregister.
– Scroll down and choose the “Unregister Sync Module” option.
– Confirm the action by following the on-screen instructions.
– The selected Sync module will be unregistered from your Blink account.
How to unregister a Blink camera without an account?
To unregister a Blink camera without an account, you will need to create a Blink account first.
However, if you no longer have access to the account associated with the camera, you can contact Blink customer support for further assistance. They will guide you through the process and help unregister the camera from the account.
Remember, it’s always recommended to keep track of serial numbers for future reference, as they can be helpful in managing and troubleshooting your Blink devices efficiently.
Conclusion
If you find that your Blink camera is registered to another account, there are several steps you can take to resolve the issue.
By following troubleshooting steps and contacting Blink support, you can seek guidance on how to regain control of your camera.
If necessary, resetting the camera and transferring ownership may be necessary.
It’s important to take these measures promptly in order to prevent unauthorized access and ensure the security of your device.

My family always say that I am wasting my time here at net, however I know I am getting knowledge every day by reading such pleasant content.
I am truly delighted to read this website posts which carries plenty of valuable data, thanks for providing these statistics.
Thanks on your marvelous posting! I seriously enjoyed reading it, you could be a great author.I will be sure to bookmark your blog and will often come back in the future. I want to encourage you to continue your great posts, have a nice day!