If you’re a Blink camera owner, you’ve made a smart choice to protect your home. But do you know about one of its most powerful features?
I am talking about Infrared (IR) intensity, a game-changer that can transform your security system.
In this easy-to-understand guide, I’ll guide you about;
“What is IR intensity on Blink camera, and how to use it effectively?” You’ll also learn about the various factors that can affect IR intensity and discover how to adjust it for maximum security.
So, let’s dive in and uncover everything you need to know about IR intensity on Blink cameras.
Contents
- 1 What Is IR Intensity On Blink Camera – Quick Answer
- 2 Why Does IR Intensity Matter In Blink Camera?
- 3 What Are The IR Settings On The Blink Camera? 3 IR Settings
- 4 How to Adjust IR Intensity on Blink Camera – Step-By-Step Way
- 5 Factors Affecting IR Intensity on Blink Cameras
- 6 5 Troubleshooting Ways For IR Intensity Issues in Blink Cameras
- 7 Conclusion
What Is IR Intensity On Blink Camera – Quick Answer
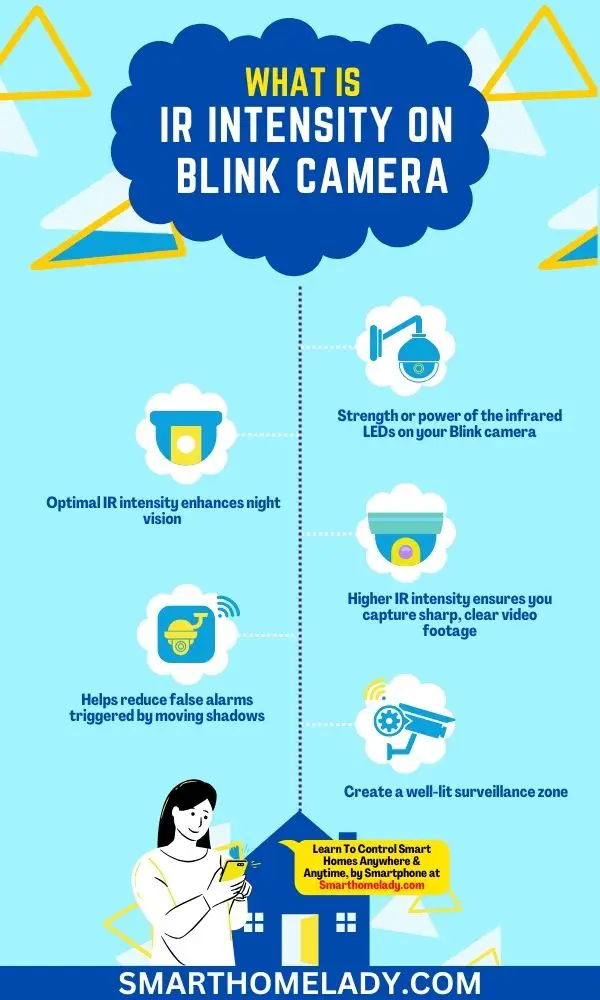
In simple terms, IR intensity refers to the strength or power of the infrared LEDs on your Blink camera. Infrared light is invisible to the human eye but is a crucial tool for surveillance cameras.
IR lights enable your camera to capture clear video footage in low-light or nighttime conditions. The higher the IR intensity, the farther and clearer your camera can see in the dark.
Imagine a security camera that can see in the dark and not just see but capture clear, detailed footage of any intruders or unexpected events, even in pitch-black conditions. This is where IR intensity comes into play.
Why Does IR Intensity Matter In Blink Camera?
IR intensity plays a crucial role in determining the image quality captured by a Blink camera at night. The higher the IR intensity, the more clearly the camera can see in the dark.
Here’s how it impacts image quality:
- Enhanced Night Vision – Optimal IR intensity enhances night vision by providing more powerful illumination. This ensures that the camera captures detailed and sharp images even in complete darkness, allowing you to monitor your property effectively.
- Deterrence – A well-lit area can deter potential intruders. By cranking up your camera’s IR intensity, you create a well-lit surveillance zone, making your property less appealing to wrongdoers.
- Clearer Evidence – Whether it’s a raccoon rummaging through your trash or an unwelcome visitor, higher IR intensity ensures you capture sharp, clear video footage. This can be crucial if you ever need to identify someone or provide evidence to authorities.
- Reduced False Alarms – Properly adjusted IR intensity helps reduce false alarms triggered by moving shadows or small animals in the dark. It ensures that the camera detects only relevant motion events, enhancing the accuracy of your Blink camera’s alerts.
What Are The IR Settings On The Blink Camera? 3 IR Settings
Blink cameras, like many other security cameras, come equipped with Infrared (IR) settings that control the camera’s night vision capabilities. These settings determine how the camera uses infrared light to capture clear images and videos in low-light or nighttime conditions.
Typically, Blink cameras offer three IR settings: Low, Medium, and High.
Here’s an overview of each setting.
Low IR Setting Of Blink Camera
The Low IR setting is ideal for situations with some ambient light, such as streetlights or moonlight. It uses minimal infrared illumination to enhance the camera’s visibility in low-light conditions.
Usage
This setting is suitable for areas with a small amount of natural or artificial light, ensuring that the camera can capture clear footage without excessive glare or overexposure.
Medium IR Settings Of Blink Camera
The Medium IR setting increases the intensity of the infrared illumination. It’s best suited for moderately dark environments where there is limited natural or artificial light. This setting offers improved visibility compared to the Low setting.
Usage
Medium IR is commonly used for outdoor surveillance during overcast nights or in areas with moderate darkness. It strikes a balance between image quality and IR illumination.
High IR Settings Of Blink Camera
The High IR setting provides the most powerful infrared illumination among the three settings.
It is designed for extremely dark environments where there is minimal to no ambient light. This setting maximizes the camera’s ability to capture clear images in complete darkness.
Usage
High IR is typically used in pitch-black conditions, such as in basements, remote areas with no lighting, or when monitoring an unlit outdoor space at night.
Selecting the appropriate IR setting for your Blink camera depends on the specific lighting conditions in the area you want to monitor.
Choosing the right setting helps ensure that your camera captures the best-quality footage without overexposure or underexposure.
- Keep In Mind that using the High IR setting unnecessarily in well-lit areas can lead to overexposed images.
- Using the Low setting in extremely dark areas may result in underexposed or unclear footage.
- Adjusting the IR setting accordingly will help you achieve optimal night vision performance for your security needs.
How to Adjust IR Intensity on Blink Camera – Step-By-Step Way
Adjusting IR intensity on your Blink camera is a straightforward process. Here’s a step-by-step guide to ensure optimal results:
- Open the Blink App – Ensure your smartphone or tablet is connected to the same Wi-Fi network as your Blink camera. Open the Blink app.
- Select Your Camera – Tap on the camera you want to adjust.
- Go to Settings – Tap the settings icon, usually represented as a gear or cogwheel.
- Navigate to IR Intensity – Look for the option related to IR intensity. Depending on your camera model, it may be named differently, but it’s typically found under “Night Vision” or “Infrared.”
- Adjust the Intensity – You’ll typically have the option to choose between low, medium, or high IR intensity. Experiment with these settings to find the one that works best for your specific location.
- Save Your Settings – Once you’re satisfied with your IR intensity choice, save the settings and exit the menu.
Common Mistakes to Avoid When Adjusting Blink IR Intensity
- Avoid setting IR intensity too high, as it can cause overexposure and reduce image clarity.
- Don’t set it too low, as this can result in grainy or dark footage.
- Regularly check and adjust IR intensity based on seasonal changes in ambient light.
Factors Affecting IR Intensity on Blink Cameras
Understanding and adjusting the IR intensity settings can enhance your camera’s performance in low-light conditions.
Here are three factors that can affect IR intensity on Blink cameras:
- Distance – The farther an object is from the camera, the lower its IR intensity will be captured. Position your camera strategically based on the area you want to monitor to maximize night vision range.
- Surroundings – Reflective surfaces such as glass or metal can impact IR intensity by causing glare or hot spots in the image. Consider avoiding placing your camera directly facing these types of surfaces.
- Weather Conditions – Rain, fog, or snow can scatter IR light and reduce its effectiveness. Adjusting your IR intensity settings may be necessary in extreme weather to compensate for reduced visibility.
5 Troubleshooting Ways For IR Intensity Issues in Blink Cameras
Troubleshooting IR intensity issues is crucial for ensuring the safety and security of your home.
If you are experiencing issues with the IR intensity, it may impact the quality of your camera’s night vision capabilities.
- To troubleshoot IR intensity issues, start by checking if any obstructions or objects are blocking the camera lens.
- Ensure that the lens is clean and free from dirt or smudges that could affect its performance.
- Additionally, ensure your camera’s sensitivity settings are properly adjusted to optimize its infrared capabilities.
- If you continue to experience problems with IR intensity, consider adjusting the position or angle of your camera to ensure a clear line of sight without any obstacles interfering with its night vision capabilities.
- If all else fails, contact Blink customer support for further assistance in resolving any technical issues affecting your camera’s performance.
Conclusion
Understanding the IR intensity of Blink cameras is crucial for maximizing their night vision capabilities.
By adjusting the IR intensity settings, users can enhance the security of their premises and capture clearer images in low-light conditions.
Factors such as distance, angle, and environmental conditions can affect the IR intensity, so it is essential to consider these factors when positioning and setting up Blink cameras.
By utilizing the maximum IR intensity available, users can ensure better surveillance and peace of mind.