Are you tired of troubleshooting your Wyze camera, only to find it stubbornly refusing to connect to your WiFi?
It’s a frustrating situation that many Wyze camera owners have experienced.
But fear not, because, in this article, I am going to dive deep into the reasons behind the Wyze camera not connecting to WiFi. I will help you to explore some effective solutions to get it up and running again.
So, grab a cup of coffee, and let’s unravel the mysteries of Wyze camera connectivity issues.
Contents
- 1 7 Common Causes Of Wyze Camera Not Connecting To WiFi
- 2 8 Troubleshooting Ways Of Wyze Camera Not Connecting To WiFi
- 2.1 1. Properly Configured Wi-Fi Network Settings Are must
- 2.2 2. Ensure the Wyze Camera Is Within Range of the Wi-Fi Signal
- 2.3 3. Restart Your Router and Wyze Camera
- 2.4 4. Ensure Wyze Camera Is Connected To A Correct Band Of WiFi
- 2.5 5. Update the Wyze Camera Firmware
- 2.6 6. Reset the Wyze Camera to Factory Settings
- 2.7 7. Disable Any VPN or Firewall Settings That May Be Blocking the Connection
- 2.8 8. Clear The Wyze Camera App Cache
- 3 Why is the blue light blinking on my WYZE camera?
- 4 How do you reset the Wi-Fi on Wyze?
- 5 How to check Wi-Fi on Wyze camera?
- 6 Conclusion
7 Common Causes Of Wyze Camera Not Connecting To WiFi
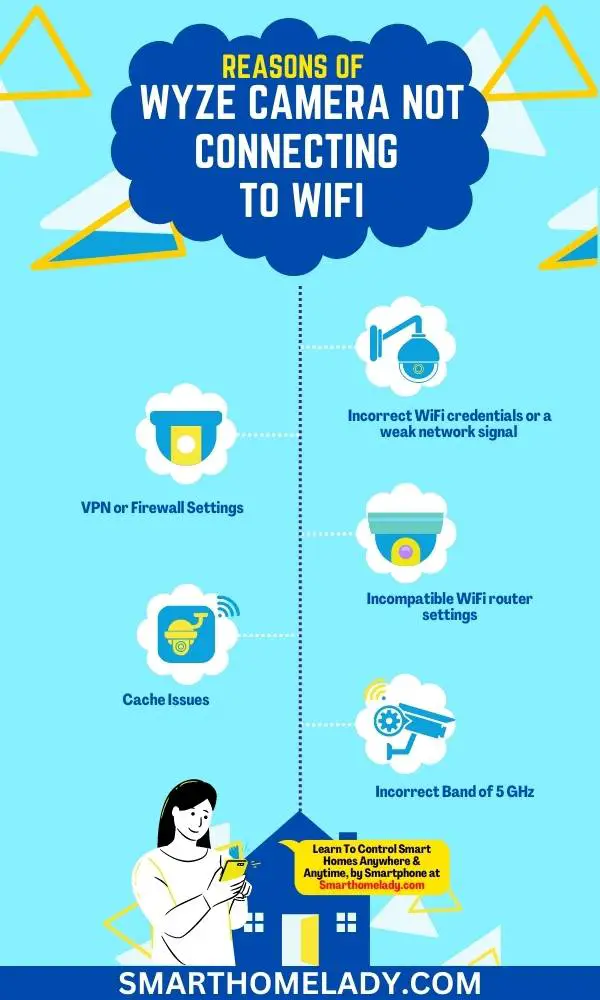
There are several common causes for Wyze Cameras not connecting to WiFi. Following are a few common causes;
- Incorrect WiFi credentials or a weak network signal can prevent the camera from establishing a connection.
- VPN or Firewall Settings – If you are using a virtual private network (VPN) or have a firewall enabled on your network, it may interfere with the Wyze cam’s ability to connect to WiFi. In such cases, you may need to adjust the settings to allow the camera to establish a connection.
- Incompatible WiFi router settings, such as using an unsupported frequency or security protocol, can also lead to connectivity issues.
- Cache Issues – Sometimes, cache files on your smartphone or the Wyze app itself can cause connectivity problems. Clearing the cache on your phone or reinstalling the Wyze app can help resolve this issue.
- Network congestion or interference from other devices can disrupt the camera’s connection.
- Incorrect Band of 5 GHz – Wyze cams only support 2.4 GHz WiFi networks. If your router is broadcasting a 5 GHz network, the camera will not be able to connect. Ensure that your router’s WiFi settings are configured to broadcast a 2.4 GHz network, and try connecting the camera again.
- Outdated firmware on the camera or router may cause compatibility issues, requiring an update to resolve the problem.
8 Troubleshooting Ways Of Wyze Camera Not Connecting To WiFi
If you’re experiencing issues with your Wyze camera not connecting to WiFi, the following are a few troubleshooting steps you can try.
These solutions will help you get your Wyze camera back online and connected to your network.
1. Properly Configured Wi-Fi Network Settings Are must
You should double-check your Wi-Fi network settings to ensure they are properly configured. This is one of the first troubleshooting steps you should take when facing common connectivity issues with your Wyze camera.
- Start by verifying that your Wi-Fi network is functioning properly and that the camera is within range.
- Make sure the SSID (network name) and password are correct, as even a small error can prevent the camera from connecting.
- Additionally, check if your router has any special security settings or restrictions that could be blocking the camera’s access.
Restarting both the router and camera can also help resolve temporary connection issues.
Read More About Wyze Camera
- Wyze Camera Not Connecting? Cause And Troubleshooting
- Wyze Cam Constant Yellow Light & 5 Ways To Fix It
- Why Is Wyze Base Station Not Connecting – 9 Ways To Fix
- Wyze Camera Stuck On Ready To Connect – 8 Ways To Fix Your Problem
2. Ensure the Wyze Camera Is Within Range of the Wi-Fi Signal
Make sure the Wyze camera is close enough to the Wi-Fi signal. Placing the camera too far from the Wi-Fi router can cause connectivity issues.
To ensure a strong and stable connection, it is important to position your camera within range of the Wi-Fi signal.
Here are some tips to help you ensure proper camera placement:
- Check the distance – Keep your Wyze camera within 30 feet of your Wi-Fi router for optimal performance.
- Avoid obstacles – Make sure there are no walls, furniture, or other objects blocking the line of sight between your camera and router.
- Reduce interference – Keep your camera away from other electronic devices that may interfere with the Wi-Fi signal.
Here’s an example table to illustrate how different factors can affect Wi-Fi signal strength:
| Factor | Signal Strength |
|---|---|
| Less Distance | Strong |
| Obstacles | Weak |
| Interference | Weak |
3. Restart Your Router and Wyze Camera
Restarting your router and Wyze camera can often resolve the issue of the camera not connecting to WiFi by refreshing the network connections and resolving any temporary glitches.
Power cycling the router, clears any potential conflicts or inconsistencies in the network settings, allowing a fresh start for the camera to establish a stable connection.
Similarly, restarting the Wyze camera helps it reconnect to the network, ensuring that all previous connection issues are eliminated.
This simple troubleshooting step has proven effective in restoring the camera’s ability to connect to WiFi and regain its functionality.
4. Ensure Wyze Camera Is Connected To A Correct Band Of WiFi
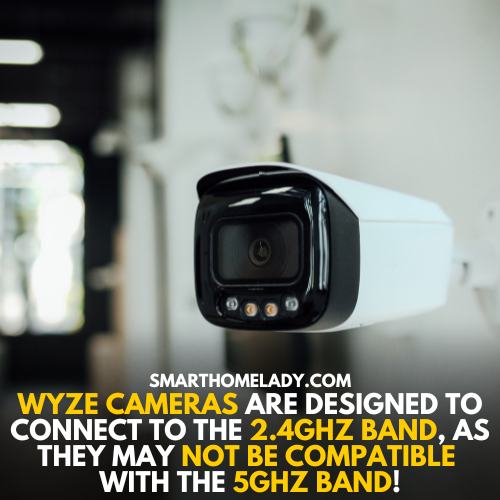
The issue of the Wyze camera not connecting to WiFi can be related to the band frequency of the WiFi network, specifically the 2.4GHz or 5GHz band.
Wyze cameras are designed to connect to the 2.4GHz band, as they may not be compatible with the 5GHz band.
If the camera is unable to connect to the WiFi network, it is possible that the network is operating on the 5GHz band, which can result in compatibility issues.
In such cases, it is recommended to switch the WiFi network to the 2.4GHz band or utilize a dual-band router that supports both frequencies to ensure a successful connection.
5. Update the Wyze Camera Firmware
To ensure that your Wyze camera’s firmware is up to date, follow the instructions provided in the user manual. Regularly updating camera software can help troubleshoot connection issues.
Here’s how to update the firmware:
- Open the Wyze app on your smartphone.
- Navigate to the ‘Devices’ tab.
- Find your camera and tap on it.
- Select ‘Settings’ and then ‘Device Info’.
- If a firmware update is available, you will see an option to install it.
- Click on ‘Update Firmware’ and wait for the process to complete.
- Once updated, restart your camera.
- Try connecting it to Wi-Fi again.
Updating the firmware can often resolve connectivity problems and improve the overall performance of your Wyze camera.
Read More About Wyze Camera
- How To Setup Wyze Cam – Follow 8 Simple Steps
- How To Factory Reset Wyze Camera? Step By Step Guide
- How To Change WiFi On Wyze Camera – A Step By Step Guide
- All Wyze Devices Offline – Quick & Easy Ways
6. Reset the Wyze Camera to Factory Settings
Resetting to factory settings can help resolve connection problems by clearing any previous configurations that may be causing interference.
To reset the Wyze camera to factory settings,
- Simply press and hold the setup button on the back of the camera for at least 10 seconds. This is one of the common troubleshooting steps for Wyze camera connectivity issues.
When you perform a factory reset, all settings and Wi-Fi information will be erased, so make sure to set up your camera again after the reset.
If you’re experiencing issues with your Wyze camera not connecting to Wi-Fi, try resetting it as a potential solution.
Remember to hold down the setup button for at least 10 seconds until you see a yellow light flashing before releasing it.
7. Disable Any VPN or Firewall Settings That May Be Blocking the Connection
Try disabling any VPN or firewall settings that could be blocking your camera’s connection.
Here are three common connectivity issues that may arise due to VPN or firewall settings:
- Limited network access – Some VPNs or firewalls may restrict certain devices from accessing the network, causing your camera to be unable to connect.
- Blocked ports – Firewalls often block specific ports that are necessary for your camera’s connection. Make sure the required ports are open for smooth communication.
- IP conflicts – Sometimes, a VPN can assign conflicting IP addresses, resulting in connectivity problems. Disabling the VPN or adjusting its settings can resolve this issue.
Read More About Wyze Camera
- Wyze Camera Offline – 6 Reasons and Quick Solutions
- Wyze Cam Won’t Scan QR Code – 8 Troubleshooting Steps
- Wyze Camera Not Recording Events – 08 Causes With Fixes
- 5 Reasons Your Wyze Camera Not Working – Quick Solutions
8. Clear The Wyze Camera App Cache
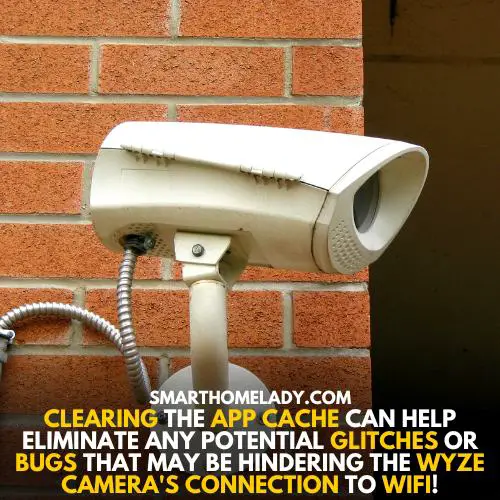
Clearing the app cache can prove to be a useful solution for resolving the issue of the Wyze camera not connecting to WiFi.
The app cache consists of temporary files and data that are stored on the device to help the app run smoothly.
Clearing the app cache can help eliminate any potential glitches or bugs that may be hindering the Wyze camera’s connection to WiFi. Ultimately, it improves its performance and enables seamless connectivity.
Here is a step-by-step way to clear the Wyze App cache.
- Launch the Wyze app on your smartphone.
- Tap on the “Account” tab at the bottom right of the screen.
- Scroll down and select “App Settings” from the list of options.
- In the App Settings menu, tap on “Clear Cache”.
- A confirmation message will appear asking if you want to clear the cache. Tap on “OK” to proceed.
- Wait for the cache to be cleared. This may take a few seconds or longer, depending on the size of the cache.
- Once the cache is cleared, you will be taken back to the App Settings menu.
- You can now exit the App Settings menu and continue using the Wyze app.
Frequently Asked Questions FAQs
Why is the blue light blinking on my WYZE camera?
The blue light blinking on your WYZE camera indicates that it is in setup mode. This means that the camera is ready to connect to a Wi-Fi network.
During the setup process, the camera’s blue light will blink rapidly. Once the setup is complete, the blue light will either stop blinking or remain solid, indicating that the camera is connected to the Wi-Fi network.
How do you reset the Wi-Fi on Wyze?
To reset the Wi-Fi on your Wyze camera, follow these steps:
1. Press and hold the setup button on the camera for about 10 seconds until you hear a voice prompt saying “Ready to connect.”
2. Release the setup button and wait for the camera to reset. The blue light on the camera will start blinking rapidly.
3. Open the Wyze app on your smartphone and go to the camera settings.
4. Tap on “Device Info” and then select “Reset Wi-Fi Settings.”
5. Follow the on-screen instructions to connect the camera to a new Wi-Fi network.
How to check Wi-Fi on Wyze camera?
To check the Wi-Fi connection status of your Wyze camera, you can follow these steps:
1. Open the Wyze app on your smartphone and go to the camera settings.
2. Tap on “Device Info” and then select “Wi-Fi Settings.”
3. The app will display the current Wi-Fi network that the camera is connected to, along with the signal strength and IP address.
4. You can also perform a quick test by tapping on “Test Connection” to check if the camera is successfully connected to the Wi-Fi network.
Remember, always refer to the official Wyze user guide or support documentation for detailed instructions specific to your camera model.
Conclusion
In conclusion, if your Wyze camera is not connecting to Wi-Fi, there are several troubleshooting steps you can take.
Check your Wi-Fi network settings and ensure the camera is within range of the signal. Restarting both your router and the camera may also help. Verify that the Wi-Fi password is correct and consider updating the camera’s firmware.
If all else fails, try resetting it to factory settings or disabling any VPN or firewall settings that could be blocking the connection.
If none of these solutions work, contact Wyze customer support for further assistance.
Sources
- Wyze Camera Support Forum (View Source)
- Internet of Things Forensics in Smart Homes: Design, Implementation, and Analysis of Smart Home Laboratory (View Source)
- Network Attacks and Defenses for IoT Environments. University of California, Riverside. (View Source)